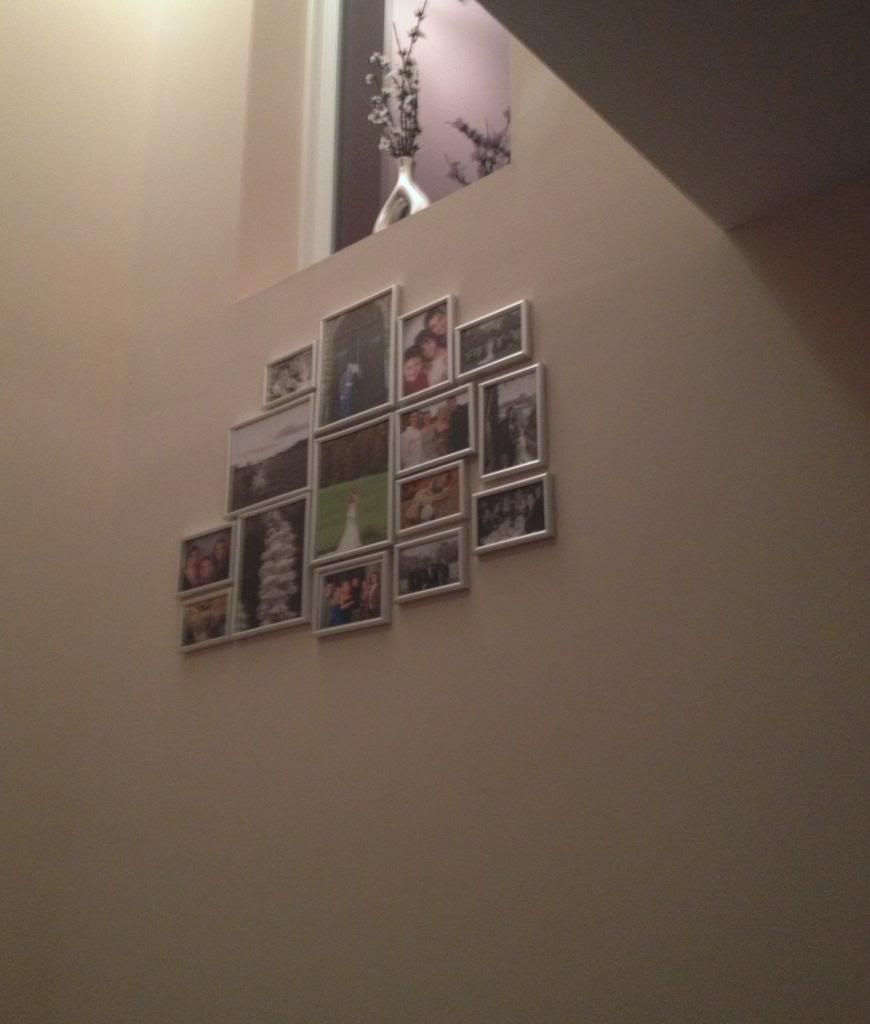
 |
| BEFORE |
Thanks to a little
pinspiration, I found a new way to display our love and loved ones. Introducing
my DIY gallery wall:
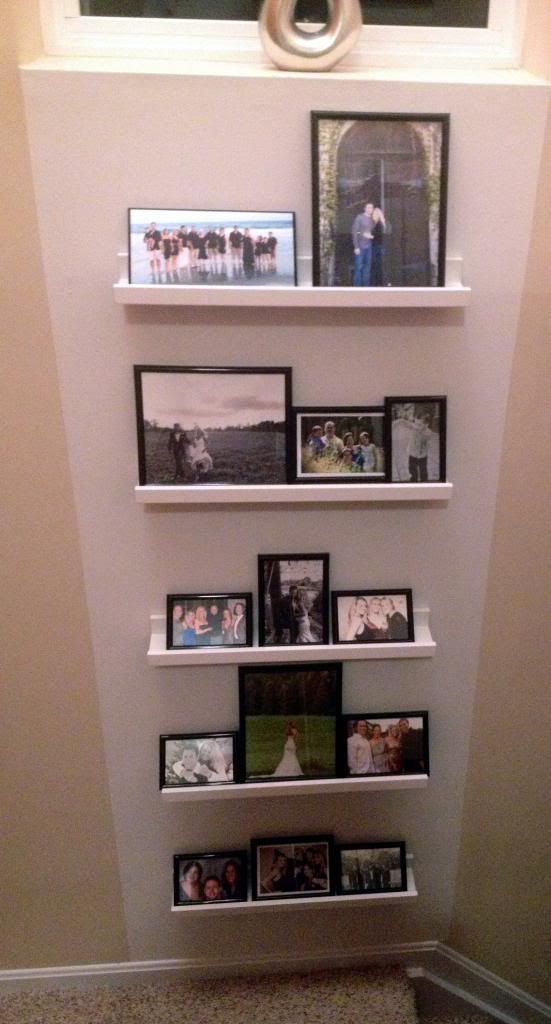 |
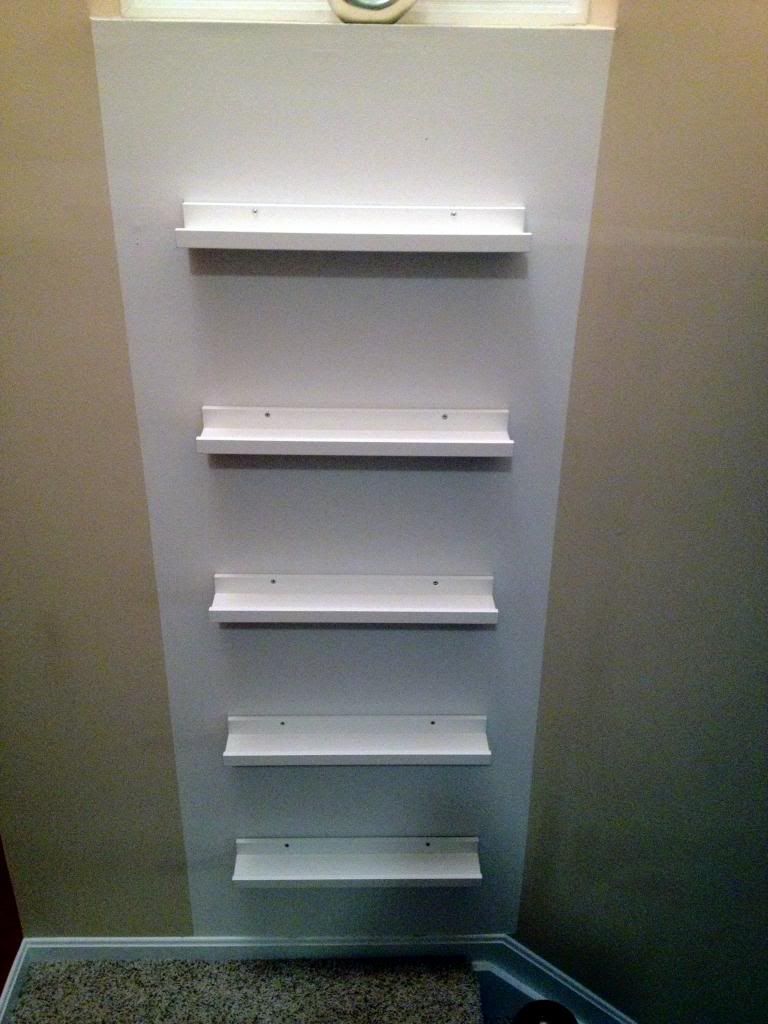
| AFTER |
Step 1 – Measure: After consulting a few friends with a good
eyes for design, I decided to us the window as a guide. Next, I bought shelves
that would fit in this space from Ikea.
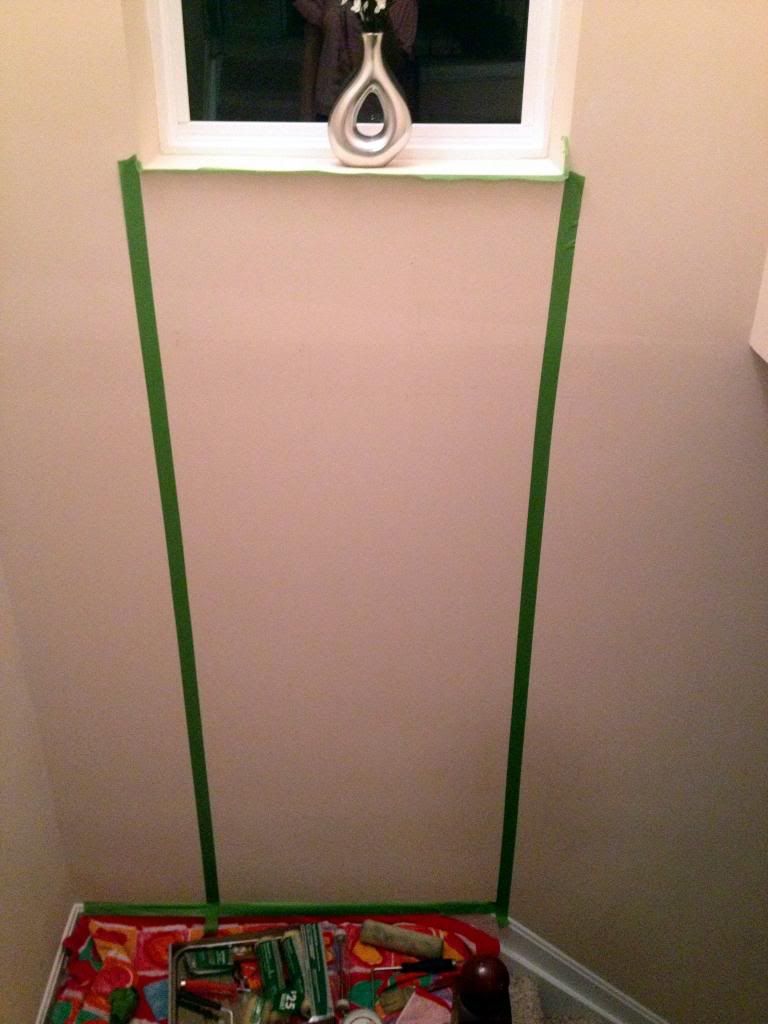
Step 2 – Tape off designated area: Using Frog Tape, I made
the job of painting easy on my self by measuring and leveling the gallery wall.
Step 3 – Paint: The gallery wall; let dry over night. (Leave
tape up!)
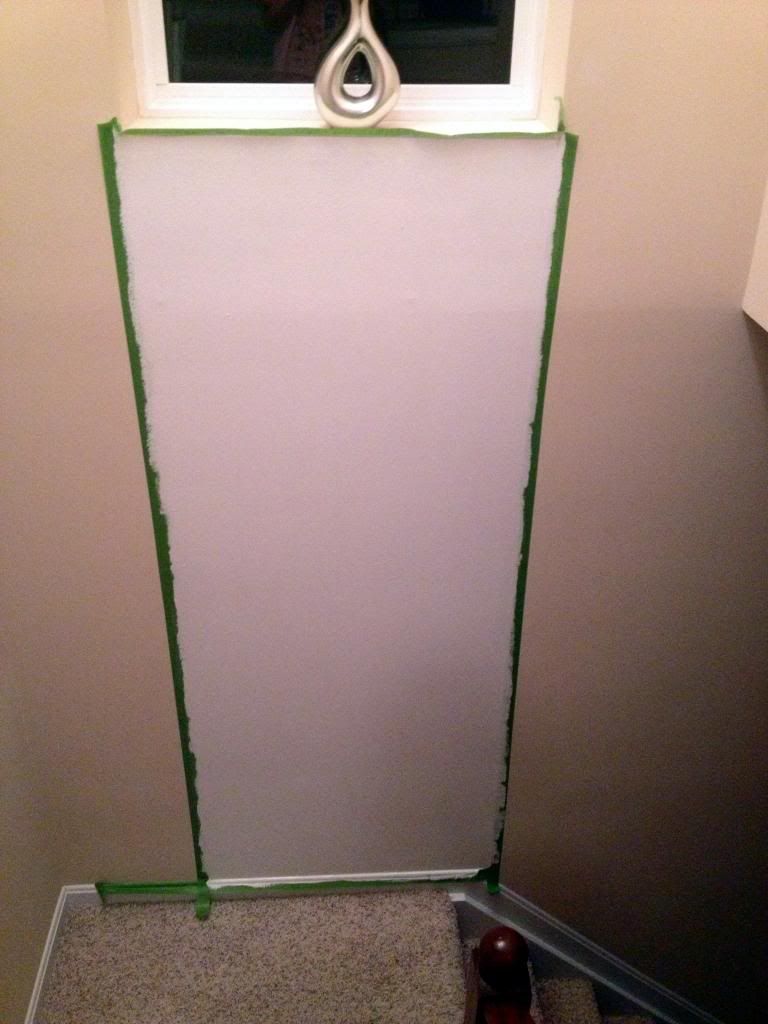
Step 4 – Remove: The tape slowly and see if any touchups are
needed.
Step 5 – Measure again: To determine where you want the
shelves to sit, remember to take into account the size of pictures you will be
resting on these shelves.
Step 6 – Hang shelves: My good friend Ashley Parsons gave me
a tutorial on how to hang shelves that saved me from having lop sided pictures.
This was the part that gave me anxiety, but once I did one shelf… the rest were
a piece of cake.
Step 7 – Arrange and enjoy!
I cannot wait until our little man arrives, and I can add
pictures of him.


No comments:
Post a Comment